Encrypting and decrypting GPG files on Linux is really easy due to its ease of installation, but on Windows you need to manually download GnuPG in order to encrypt and decrypt files.
Download
From the Gpg4win page:
We enter the download page and if we only want to download it without donating, we click on the $0 option under the PayPal logo and click on the blue Download button. After a few seconds, the download will begin.
From the official page, to avoid mistrust:
First we have to download it. For this, we go to the official download page, and look for the GnuPG binary releases section. There, we must click on the Gpg4win option. On the page that was opened, we can click on the green button that says "Gpg4win *. *. *", The asterisks are wildcards, it is usually the available version, then it will ask us for a donation to download. If we do not want to donate, we simply select the amount $0 and click Download. In a few seconds, the download automatically begins.
Install
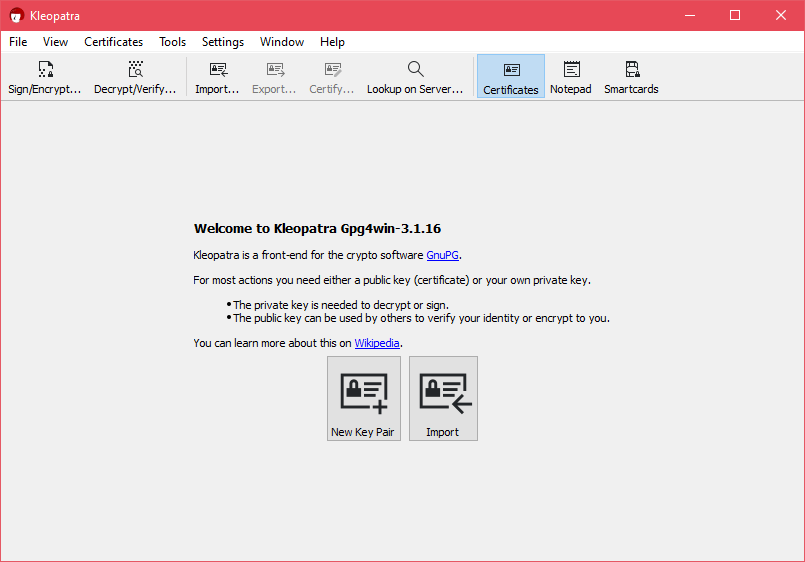
We run the installer, we practically click Next and OK in all the windows that appear. At the end, an application called Kleopatra will open, which will help us when it comes to encrypting and decrypting files through a graphical interface.
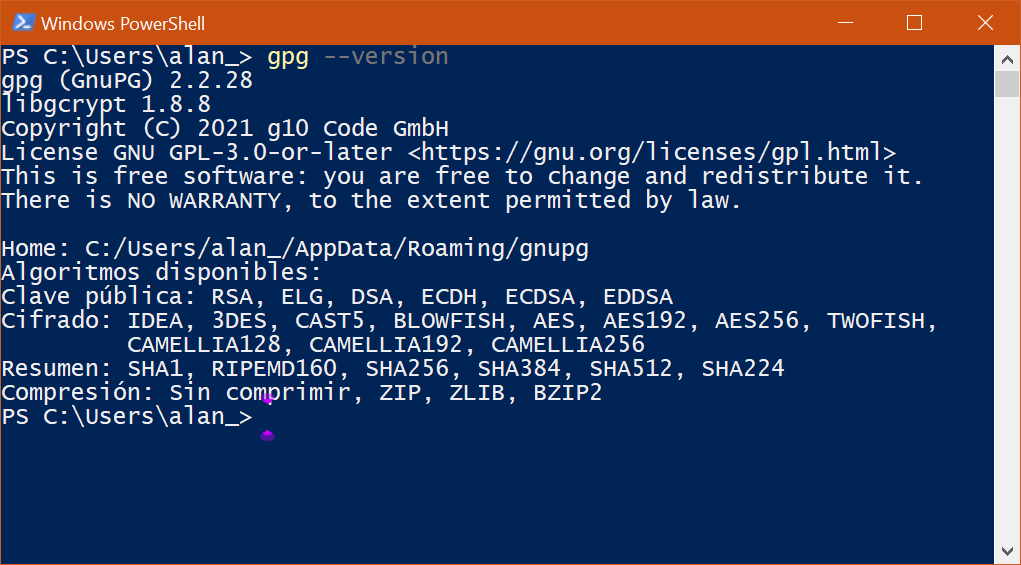
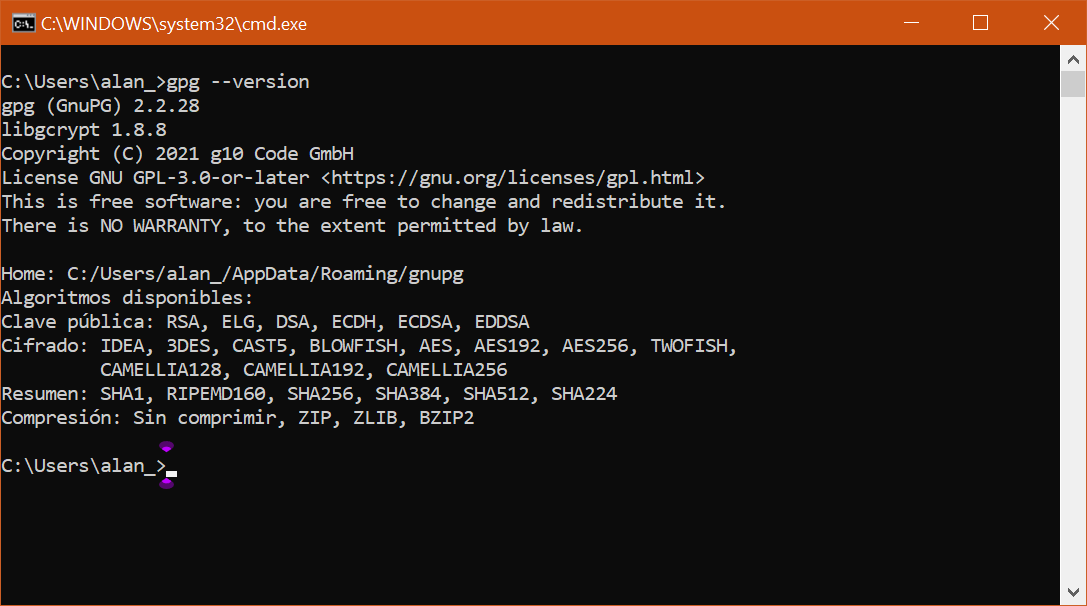
To verify that it has been installed correctly as a command in the system, we open PowerShell or CMD and execute the following command to verify:
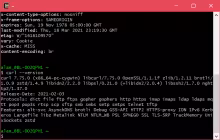
gpg --versionThis should give us the version and a brief description of the characteristics of the command.
PowerShell:
CMD:
Encrypt and decrypt files from the graphical interface
Encrypt
With Kleopatra open, we click on the "Sign/Encrypt ..." icon and select the desired file. If we want to encrypt a folder and all its contents, the ideal is to compress it with a file compressor or pack it into a single file with tar.
We can also directly encrypt a file from Windows Explorer by right-clicking on the file and selecting the "Sign and encrypt" option.
In the window that appears we are going to uncheck the options "Sign as", "Encrypt for me" and "Encrypt for others", and we are going to check only the option "Encrypt with password".
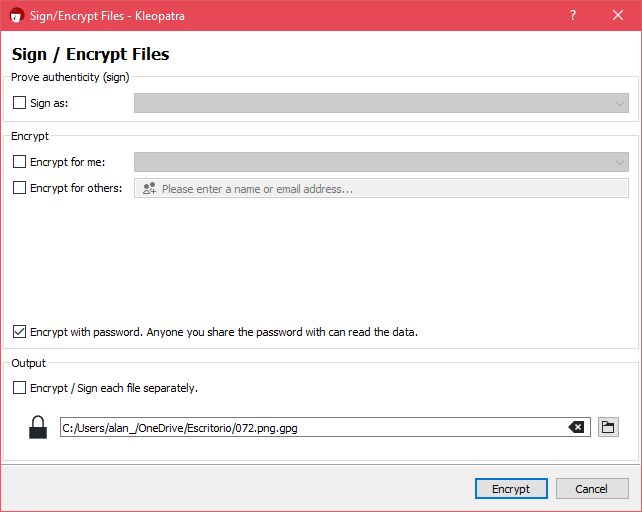
This way, anyone who has the file and the password can decrypt it. In the last part of the same window, in the "Output" section, the full path of the encrypted file will appear. When we click on "Encrypt", another window will appear asking us to enter the password twice.
If the password we choose is insecure, a notice will appear with recommendations, and it will give us to choose if we want to use it anyway or if we want to use a new one.
When continuing, a window will appear with a blue box indicating with the text "Encryption succeeded" that everything went well and with details such as the name of the original file and the new name of the encrypted output file.
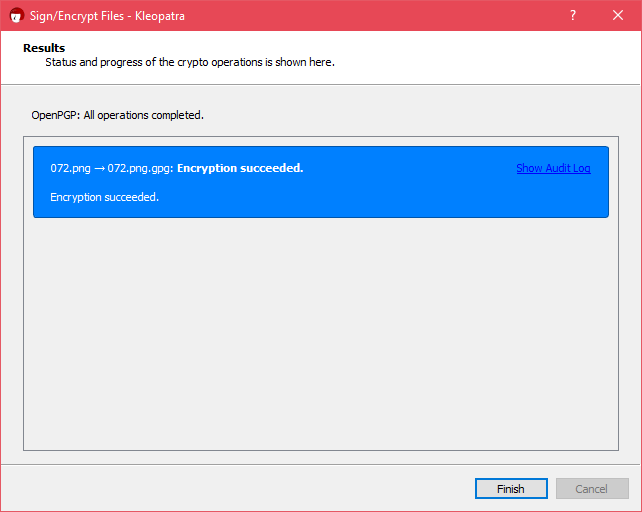
It only remains to click on “Finish” to close the window.
Decrypt
To decrypt in the main interface, we click on "Decrypt/Verify..." and select the file, or in Windows Explorer we right-click on the file and select the option "Decrypt and verify".
If we have never opened the file, it will ask us for the password to decrypt it.
In some cases, it will not ask us for a password, although if it is encrypted with a password, this is because Kleopatra has a cache system so that we do not have to write passwords or keys so often. For example, if we encrypt a file and try decrypting immediately, it will not ask us for it, but if we wait a few minutes or hours, it will ask for it again.
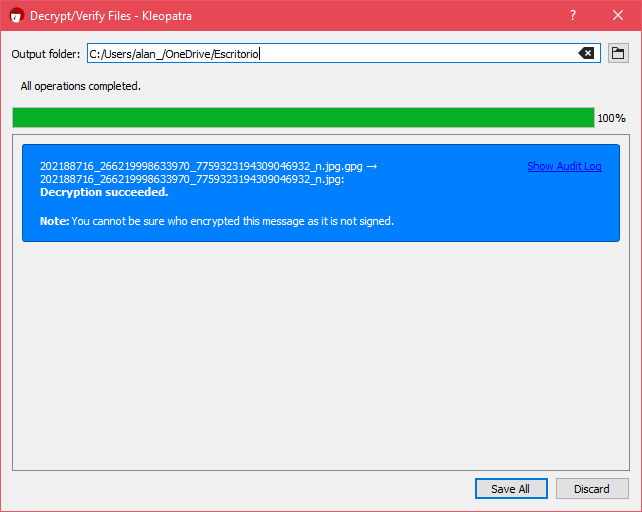
If everything went well, the progress bar will appear at 100% and a blue box with the legend "Decryption succeeded" and with details of the name of the encrypted file and the name of the decrypted output file. Do not forget that we still have to save the file with the "Save All" option that appears at the end. If the file already exists, it will ask us for confirmation to overwrite it.
Encrypt and decrypt files from the terminal
In this part, we will be using PowerShell. If we use the command prompt (CMD), it does not matter.
To encrypt files, we use the gpg command with the -c parameter:
gpg -c filename.zipUnfortunately, when using the terminal, the password has to be entered in the Kleopatra interface, which opens automatically when executing the command. It is not something bad, but ideally, if we use the terminal, the whole procedure needs to be continued in the same terminal.
To decrypt, we use the gpg command without parameters, only the name of the encrypted file:
gpg filename.zip.gpgAgain, it will ask us for a password with the Kleopatra interface.
To see in more detail the use of the command in the terminal, we can review this guide to GPG on Linux. Basically, the options and parameters are the same, the only thing that changes is the installation method.