In this short guide I will talk about how to mount a shared drive that is in Ubuntu or Debian that will be the server with the NFS (Network File System) drive, on a network drive accessible from Windows 10 who will play the role of client.
Installation and configuration in Ubuntu or Debian as a server
In the case of Debian, remove sudo from each command (it can even be executed the same).
Install the package "nfs-kernel-server":
sudo apt install nfs-kernel-serverDrive options
Then we edit the file /etc/exports with nano or with the editor of our preference:
sudo nano /etc/exportsThe file contains comments such as the following:
# /etc/exports: the access control list for filesystems which may be exported
#               to NFS clients.  See exports(5).
We add a line at the end with the following:
/home/user/folder 192.168.0.10(rw,sync,all_squash,anonuid=1000,anongid=1000)In the example above:
/home/user/folder it is the folder that will be shared by the network.
192.168.0.10 it is the IP of the client or clients that access the network resource. Only a static IP is shown, but we can use 192.168.0.1/24 to match between 192.168.0.1 and 192.168.0.254.
Mount options are in parentheses.
rwallow reading and writing.syncis optional in case we want a little more file integrity and avoid data loss, sacrificing a bit of performance.all_squashdowngrades the permissions of the files created from the client to the nobody user. For example, if in Windows 10 I am logged in as Administrator and created a new file, it will belong to user nobody.anonuidis the ID of the nobody user, or whatever user we want.anongidis The group ID of the user nobody.
In this case, I set anonuid and anongid to 1000, which is the user who owns the folder, /home/user/folder to preserve execute and write permissions.
With the changes made, we save the file CTRL + O, then Enter, and then we close with CTRL + X, this only if we use the nano editor from the terminal.
We restart the NFS server:
sudo service nfs-kernel-server restartWith this, the configuration on the server will be ready, any error that appears when restarting is necessary to check the configuration and obviously the description of the error.
Client installation and configuration in Windows 10
Windows comes with a default client, but it needs to be installed. The only detail is that I don't remember if it is available in the Windows 10 Home version.
The easiest way to install it is to use the search bar and type Control Panel, because Windows 10 has several modern panels that hide the older options. Open Programs › Programs and Features and in the left panel we open Turn Windows features on or off.
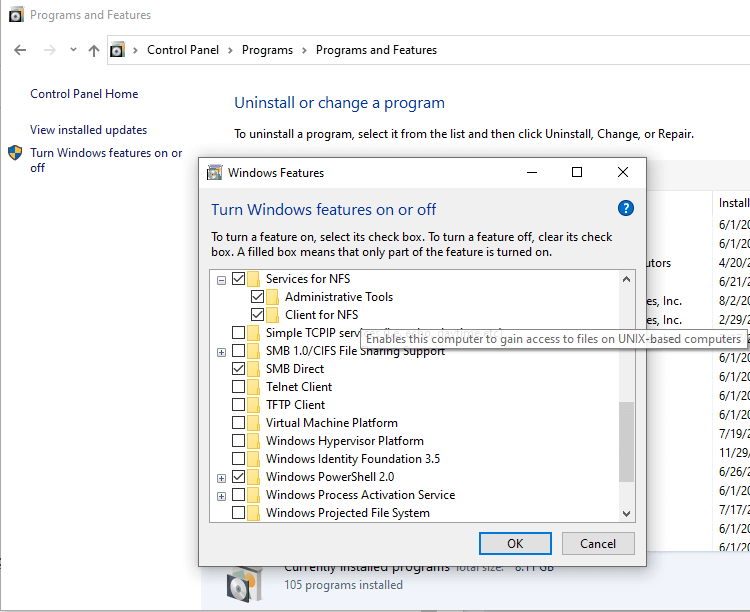
Mark the box Service for NFS with his two descendants Client for NFS and Administrative Tools. We click on OK and after some time the client will be installed.
Mounting the network drive
To mount the unit, we open the cmd (do not use PowerShell). We use the command:
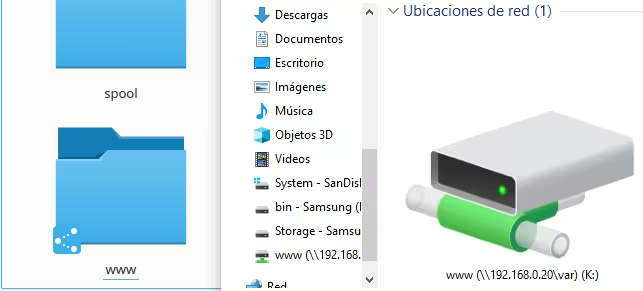
mount -o anon \\192.168.0.20\home\user\folder k:The IP 192.168.0.20 is the server, followed by the shared folder and the drive letter that will be used. It is important to use the real full path of the resource as if we were personally on the server with the folder /home/user/folder, otherwise it won't work. I have tried hiding the part of the path when mounting the drive, but it is a complicated process and not worth the extra effort.
The message, The command completed successfully. will indicate that everything is working properly.
Write permissions for the anonymous user
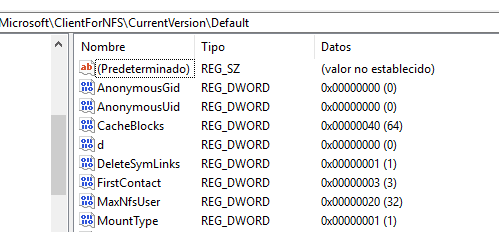
Normally and by default, Windows does not allow writing to this type of drive with the anonymous user. To enable writing, we have to open the Windows registry Regedit, and we headed towards: HKEY_LOCAL_MACHINE\SOFTWARE\Microsoft\ClientForNFS\CurrentVersion\Default.
There we will create a DWORD (32-bit) Value with the name AnonymousUid with the value of 0 with Base Decimal. Then create a DWORD (32-bit) Value with the name AnonymousGid with the value 0 with Base Decimal.
We have to restart the computer or the service Client for NFS, we can find it in the task manager in the Services tab.
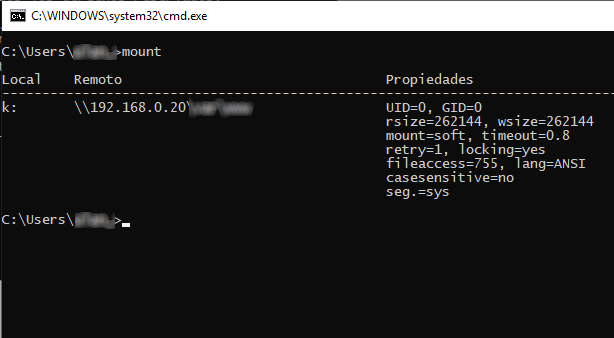
If we follow all the previous steps, and we already have the unit mounted, we open the CMD and execute the command mount, the mount will appear and in properties it will show UID=0 y GID=0. If any other number appears, check the entire procedure above.